Event entry by scanning etickets with your phone app
Event entry is fast and secure when you use the Coconut Tickets scanning app to read the QR coded tickets issued for each event.
Requirements
To use this feature you will need a smart phone (Android based) with a camera on the back of the phone and at the time of scanning you will need a live data connection to the internet (e.g. WiFi or 3G).
If you haven't yet downloaded the app onto your phone then please visit
For information on how to setup the app to link to your account see configuring the coconut tickets app to scan tickets
Complete even entry process step by step
- Press the "entry event" icon on the home page.
- Accept the date proposed or choose a custom date
- Position the phone above the ticket to be scanned
- Looking through the phone line up the the QR code with the red target line on the phone
- When the QR code is in focus then the app will ping to tell you the scan is complete
- Wait to see if the ticket is valid (green display) or in-valid (red display)
- Let the ticket holder in if the green success message is displayed
- Press the "continue" or "try again" button to start the next scan
The next sections will go through each step in more detail.
1) Entry event action
When you open the application you will see an icon menu like this one here.
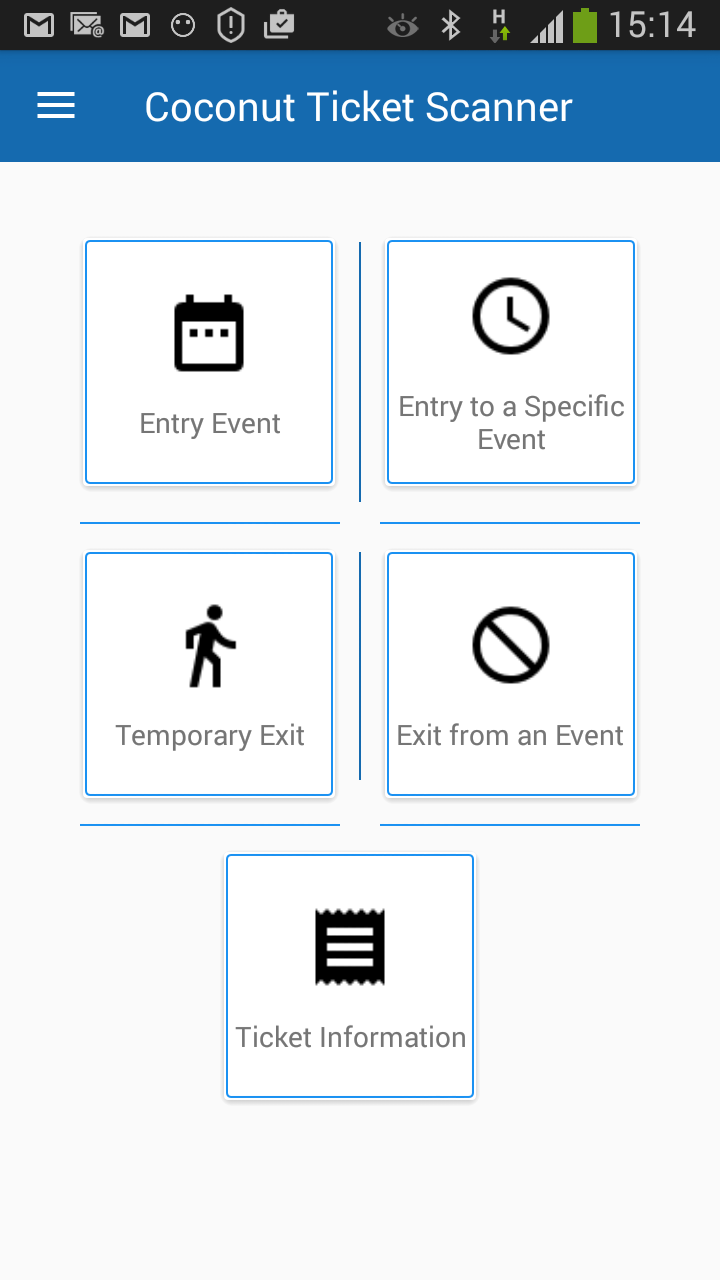
There are two event entry options. For the purpose of the tutorial we will assume you only have people arriving for one event, so you can go ahead and click on the "Entry Event" icon.
2) Date selection
Now you should see the screen below, if you don't and it goes straight to a black scanning screen then just press your back arrow key on phone and you will reach the data selection screen.
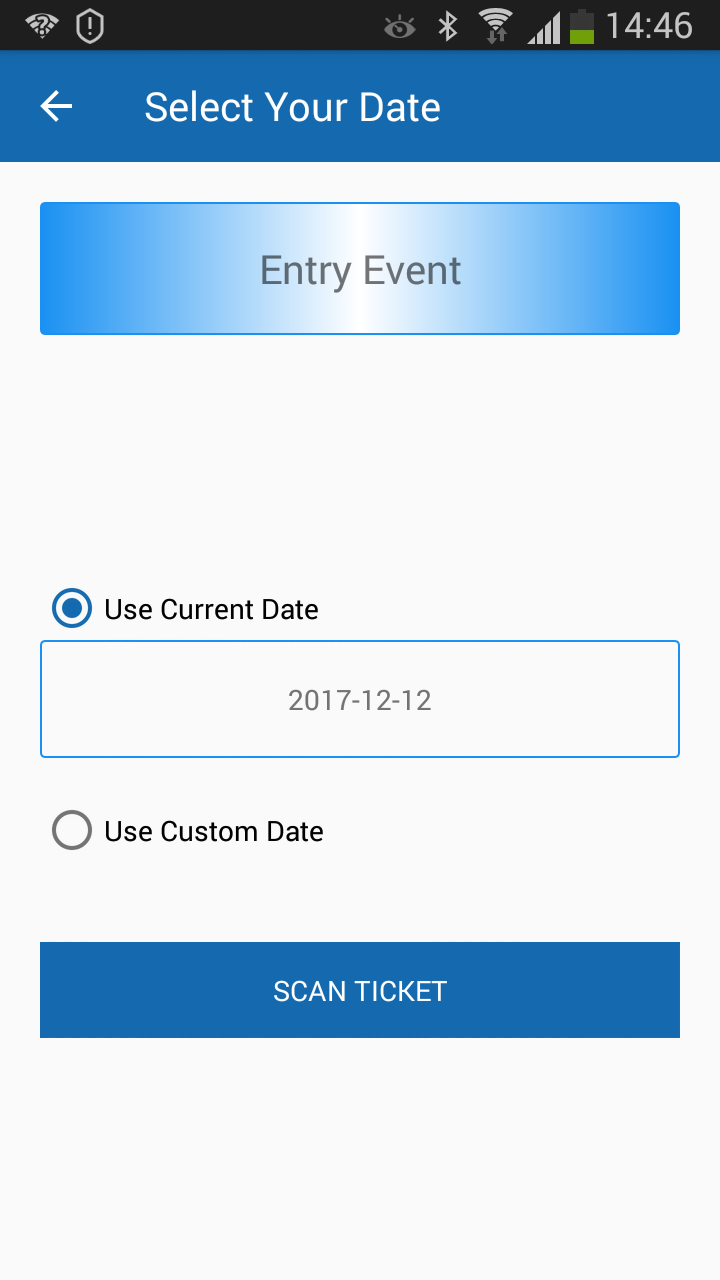
Your event tickets are only valid for a specific date. This screen allows you to make sure you are using the correct date. The date you see in the box underneath "Use current date" is the date it will use to check your tickets against. If you need to change it then click "Use custom date" and follow the on screen instructions.
When you are satisfied that scanning will occur for the right date then press the "Scan Ticket" button and scanning will start as soon as you introduce a ticket.
3) Position the phone
Your smart phone should have a camera underneath your phone. Coconut Tickets app will try to use this camera to read the ticket. This works well because while scanning you can place your phone over the QR code of the ticket to be scanned while looking through the screen of your phone.
4) Line up the QR code
Line up the QR code and the camera. The best approach is to imagine you are using your phone to take a photo of the QR code on the ticket. For best results you will want to see the whole QR image on the phone.
5) Scan complete
As soon as the QR code comes into focus then the app will automatically scan it and make a pinging sound to tell you that the scan is complete (like scanning groceries in the supermarket). There are no buttons to press. At this point the app will connect to the cloud and ask Coconut Tickets if this ticket can be used for event entry on this day.
6) Is the ticket valid for event entry?
If the ticket is valid for entry then within a few seconds you will see this image on your phone
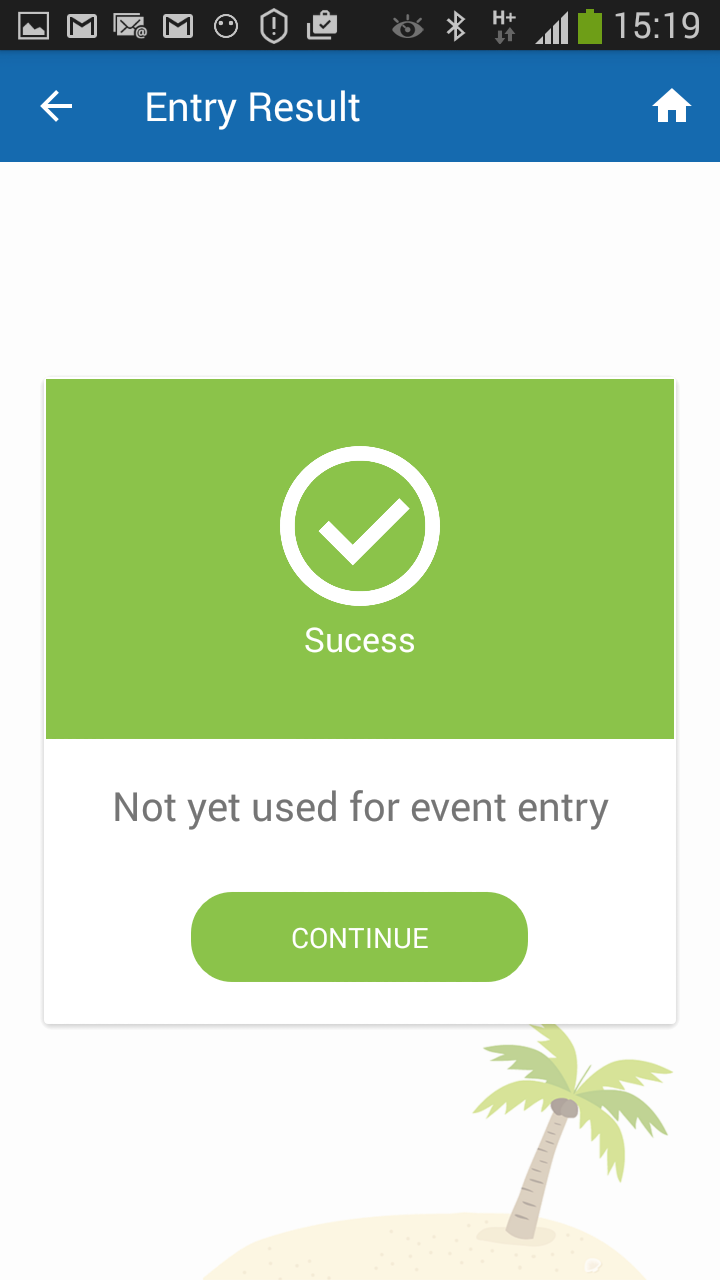
The text message may vary a little, but if you see a large green display with a tick in it then you know that you can let the ticket holder into the event and that Coconut Tickets has recorded their entry.
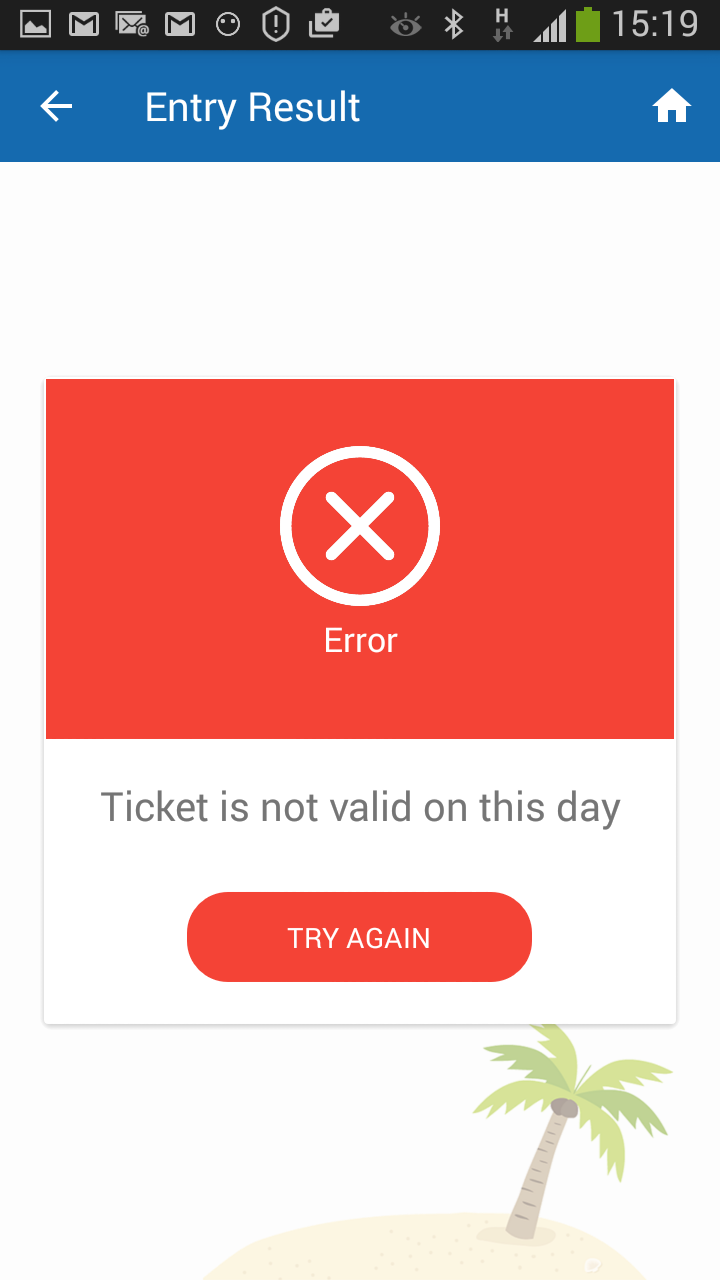
Of course there is a possibility that scanning the ticket will find that the ticket holder should not enter the event. If this is the case then the following image will be displayed on your phone.
7) Ticket holder event entry
If the scan result was green then the ticket was valid and the ticket holder can be allowed in. The date and time of their entry will have been automatically recorded at this point by Coconut Tickets.
8) Next scan
The Coconut Tickets scanning app is designed to let you get on quickly and process the queue of people you have in front of you holding tickets. Therefore you will find that whether the ticket scan granted the holder entry or not, you only need to touch the red or green button at the bottom of the screen and the scanner will be ready to scan the next ticket. There is no need to set the date or make configuration changes.
When you have scanned the tickets of all the people waiting to enter the event then press the home (house) icon in the top right of the result screen to stop scanning and return to the menus.
That's it, that is all it takes to scan tickets at the point of entry into your event.
For information the different actions that can be achieved using the app see